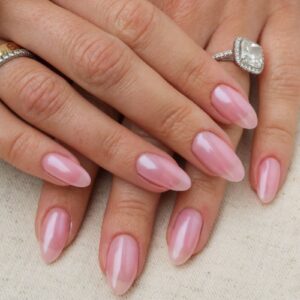
Blooming gel bridal nail art step-by-step

Step by Step, Themed
Cornwall-based nail artist, Kelly Lockwood (@magikelnails), breaks down how to achieve this stunning blooming gel bridal look.
You will need:
Are you enjoying this content?
Join our community to receive more like this
- Gel polish base coat.
- White gel polish.
- Blooming gel.
- Pink gel polish.
- Fine liner nail art brush.
- Gel polish top coat.
 Top tip: You can use any colour of gel polish for the blooming gel rose, however Kelly advises: “Make sure whatever colour you choose is a little darker than the shade you intend it to be, because the gel polish will lighten as it blooms.”
Step 1
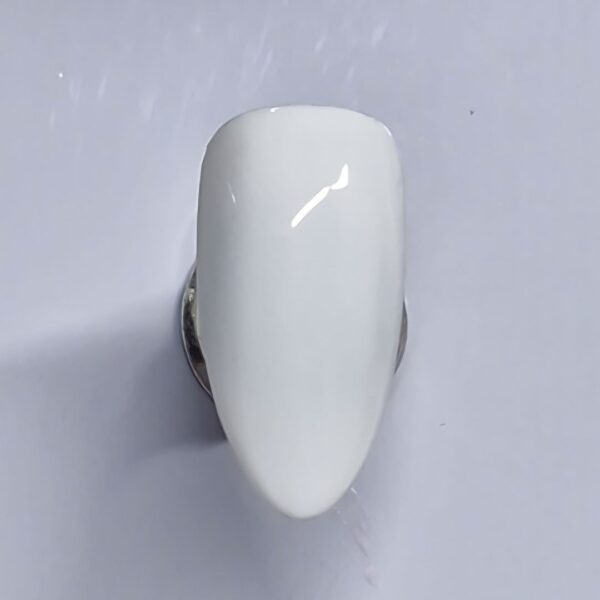
After prepping the nail, apply a gel polish base coat and cure. (Note: all mentions of curing should adhere to the specific instructions of your chosen gel polish system). Apply two layers of white gel polish, curing after each layer.
Step 2
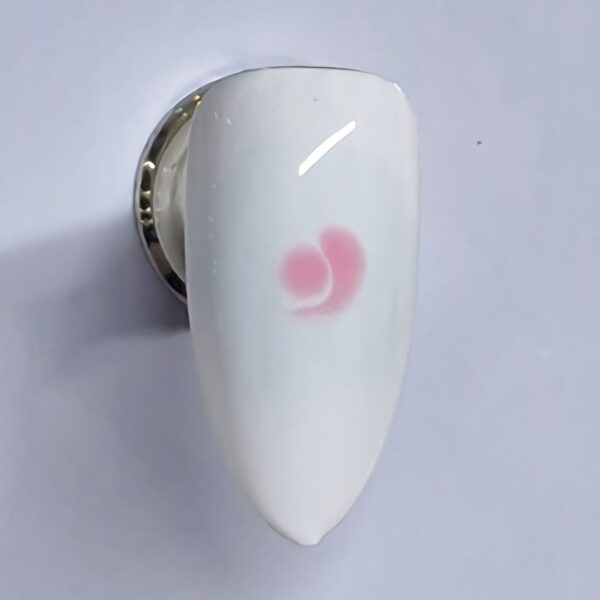
Apply a thin, even coat of blooming gel over the entire nail. Do not cure. Using a fine liner brush, add a dot of pink gel polish to the centre of the nail. Then, add a C-like curve of pink gel polish on the right-hand side of the dot to complete the middle of the rose. Do not cure.
Step 3

Continue to add curved pink gel polish shapes around the centre of the rose to build petal layers. Apply softly and ensure they are spaced out, as the blooming gel will spread them. Wait between five and 20 seconds for the blooming gel to work its magic. If the design is blooming too much, cure sooner; if it’s not blooming enough, give it a few more seconds. Cure once you are happy with the look.
Step 4

Apply a gel polish top coat and cure to finish.