How to paint an Easter bunny nail using Glitterbels

Seasonal & Occasions, Step by Step
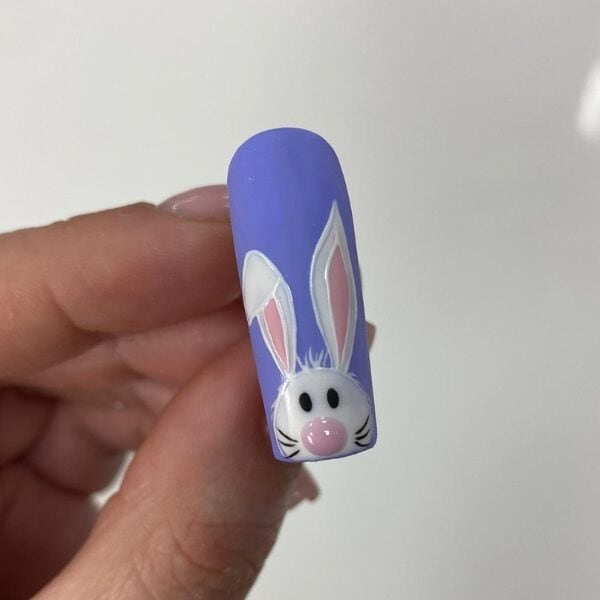
Glitterbels content creator, Stacey Machin, shares how to create this bunny nail art design for Easter.
Are you enjoying this content?
Join our community to receive more like this
Products used:
- Glitterbels Hema Free Gel Polish in Martini, Please!
- Glitterbels Unbelievabel Gel in White, Dreamboat and Black
- Glitterbels Builder Gel in Candy Pie
- Glitterbels Magic Shiner
Step 1
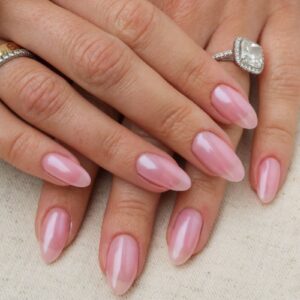
Prep the nail using Glitterbels Dehydrator, Acid-Free Primer and Basecoat. Apply your first coat of gel polish and cure. Apply a second coat if needed and cure. I used Glitterbels Hema Free Gel Polish in Martini, Please!
Step 2

Using a detailer brush, paint a semi-circle onto the nail to create the bunny’s head shape. Cure. I used Unbelievabel Gel in White.
Step 3
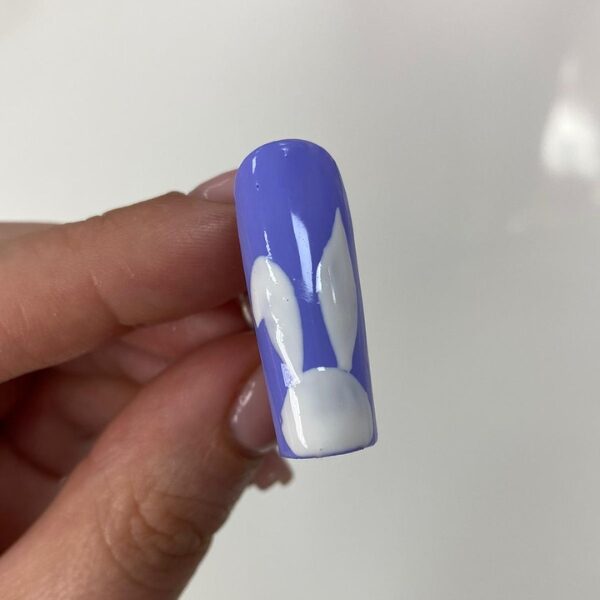
Using the same shade as step two, paint the outline of the bunny ears, fill them in then cure.
Step 4
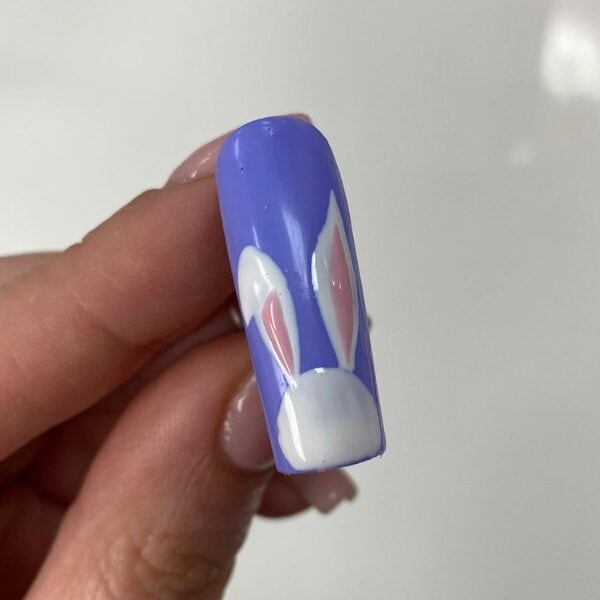
Take a light pink shade and paint the inside parts of the ears, then cure. I used Unbelievabel Gel in Dreamboat.
Step 5
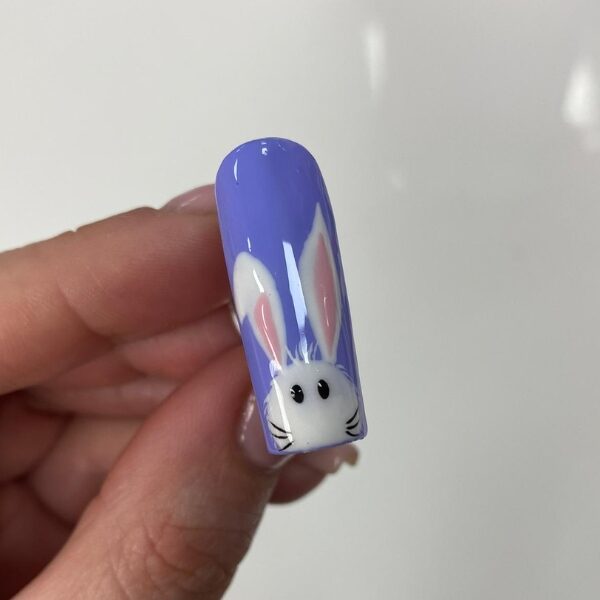
Add small hairs around the bunny’s face using the white shade and cure. Dot in the bunny eyes and lightly paint the whiskers using a black hue, then cure. I used Unbelievabel Gel in Black. Finish this step by top coating and curing again.
Step 6
Go in with the Glitterbels Magic Shiner to mattify the nail.
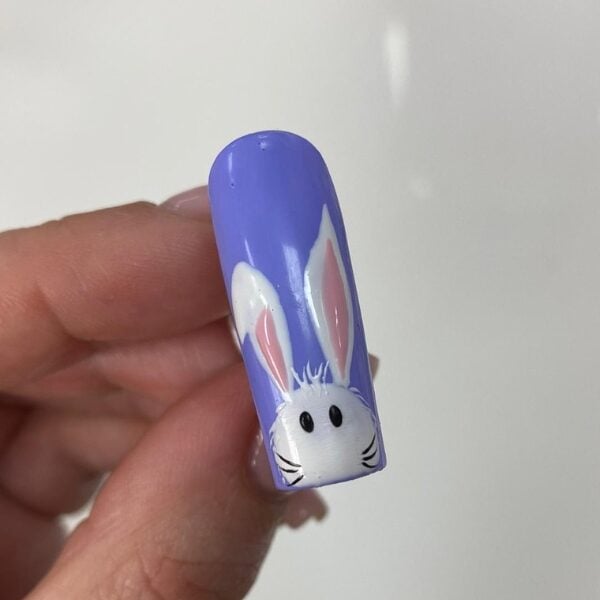
Step 7

Using the white shade, outline the bunny to make it stand out and cure.
Step 8
Finally, paint the bunny nose and cure. I used Glitterbels Builder Gel in Candy Pie.