Gorgeous goose Easter nail art tutorial

Seasonal & Occasions, Step by Step
Halo VIP, Sarah White (@_nailsbysarahw), gets Easter-ready with this gorgeous goose nail art tutorial…
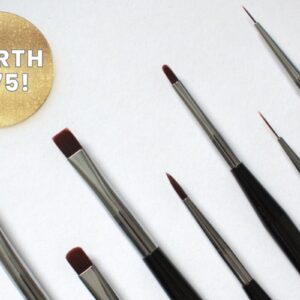
You will need the following Halo products, available via www.purenails.co.uk:
Are you enjoying this content?
Join our community to receive more like this
- Acrylic Powder in Blush Pink.
- Gel Polishes in Clay; Elise; Sunkiss; French Pink; French White; Black; Mineral; Dreamer & Bubblegum Pink.
- Non-Wipe Gel Polish Top Coat.
- Create Dotting Tool Double Ended Combo.
- Create Combo Brush: Long Fine Liner 11mm & 15mm.
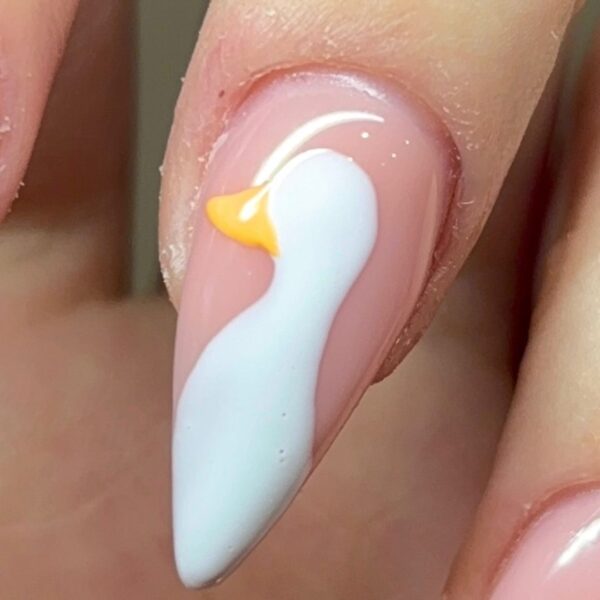
Step 1
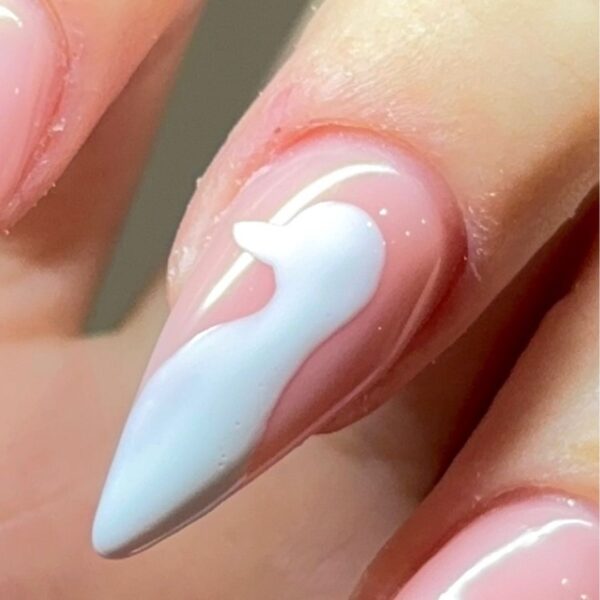
After prepping the nail and applying a base of Halo Acrylic Powder in Blush Pink, create the goose shape using Gel Polish in French White. Use the Dotting Tool to make the rounded edges more precise, and the Create Combo Brush to help neaten everything up. Make sure the goose has a long neck and body. Cure once you are happy with the shape.
Step 2
Using the same liner brush, apply Gel Polish in Sunkiss for the beak. Try to think of the shape as a triangle, but with rounded corners. Cure.
Step 3
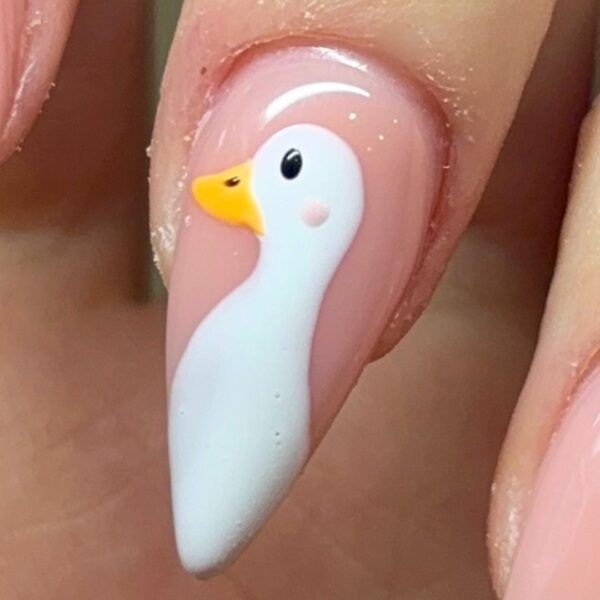
Paint the eyes and detail on the beak using Gel Polish in Black. Then, use a mix of Gel Polishes in Bubblegum Pink and Elise to paint the goose's rosy cheek. Cure.
Step 4
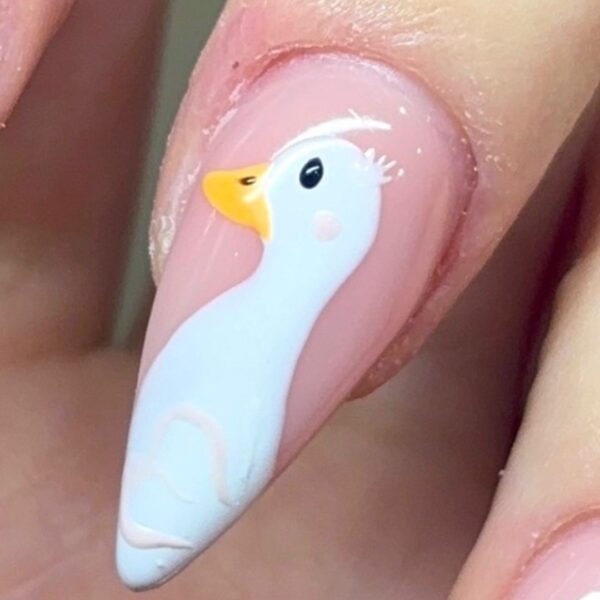
Mix Gel Polishes in Clay and French White to create a subtle yet noticeable colour. Near the base of the goose's body, create a heart-like shape for the feet. Cure.
Step 5
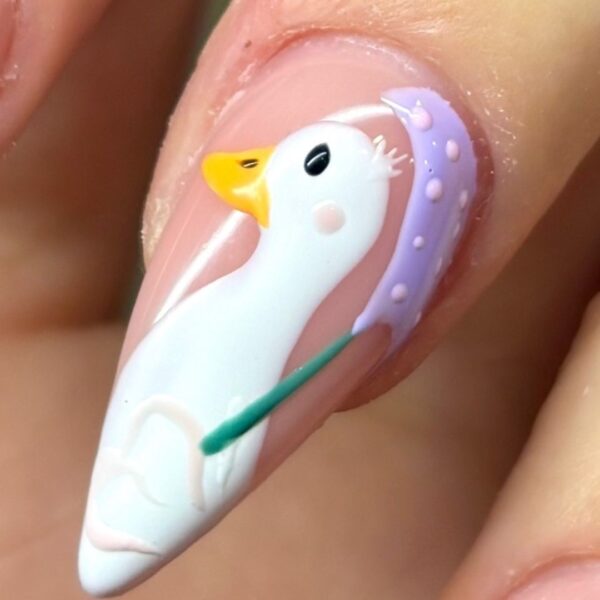
Add an umbrella to maximise the cuteness. I used Gel Polish in Mineral for the handle, Gel Polish in Dreamer for the umbrella's hood and Bubblegum Pink to make it spotty. Think of the umbrella shape as a half moon with a scalloped bottom edge. Cure after each colour application.
Step 6
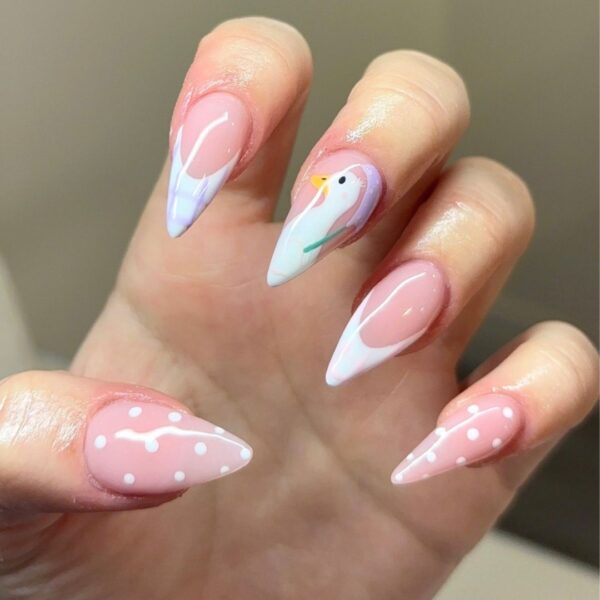
Apply Non-Wipe Gel Polish Top Coat and cure, before admiring your gorgeous goose.