Nail tutorial: Easter mix & match nail design

Seasonal & Occasions, Step by Step
Salon owner & The GelBottle Inc (TGB) brand ambassador, Hannah Taylor (@by_hannahtaylor), shares a step-by-step guide for a marvellous Easter mix ‘n’ match manicure.
You will need the following TGB products, available via www.thegelbottle.com:
Are you enjoying this content?
Join our community to receive more like this
- All-In-One BIAB™ in NU05.
- Gel Polishes in Carrie’s Cosmo, Double Denim, Banana Split & Central Perk.
- Studio Gel™ in Daisy.
- Extreme Shine Top Coat.
- Dotting 01 Tool.
- Liner 02 Brush.
Step 1
Prep the nails and apply All-In-One BIAB™ in NU05 as a base. Cure. Use the Liner 02 Brush and pastel Gel Polishes: Double Denim, Carrie’s Cosmo and Banana Split, to paint three vertical, off-centre lines on the ring finger. Cure after each application.
Step 2
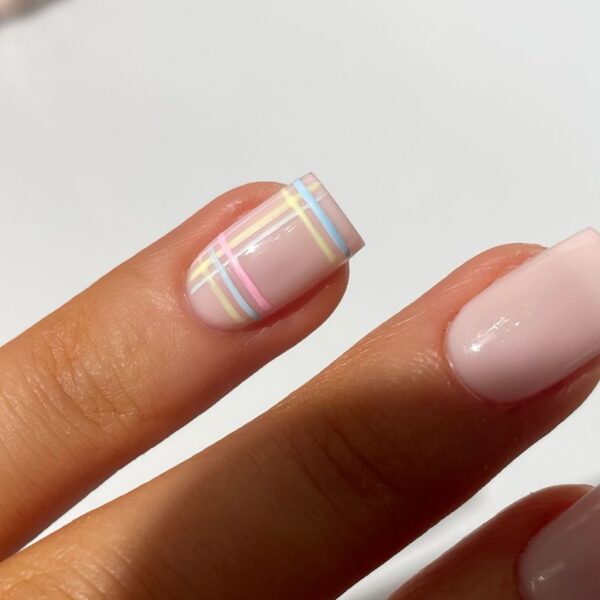
Overlap the vertical lines with horizontal additions across the top and bottom of the nail to create a pastel plaid design. Cure after each application.
Step 3
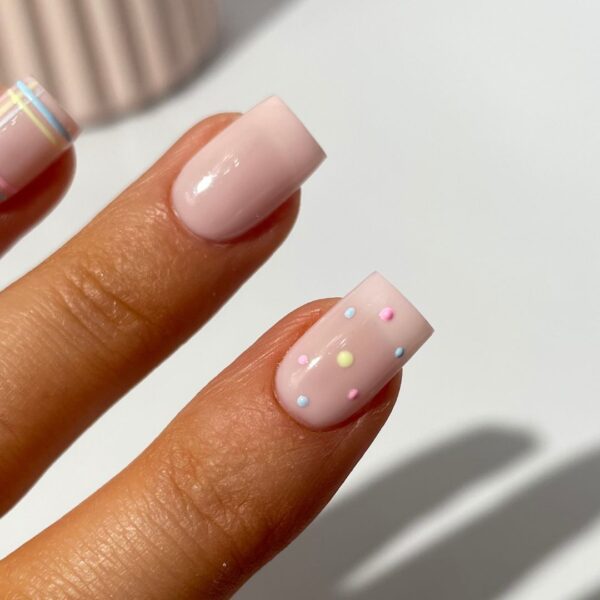
Using the same pastel Gel Polishes, create a minimal polka dot design on the index finger. Evenly space the dots over the nail using the Dotting 01 Tool. Cure.
Step 4
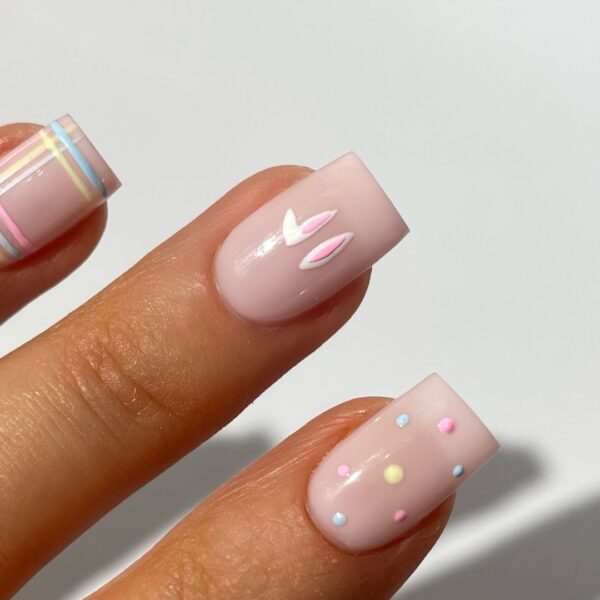
Paint a pair of bunny ears on the middle finger using Studio Gel™ in Daisy. Cure, before adding a hint of pink with Gel Polish in Carrie’s Cosmo. Cure.
Step 5
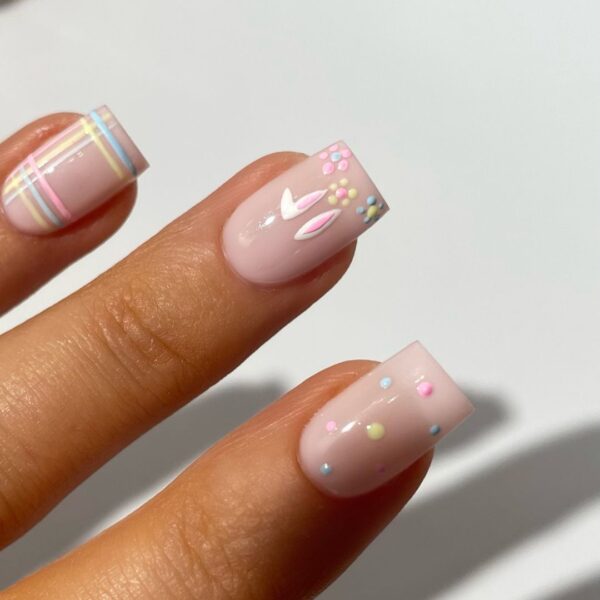
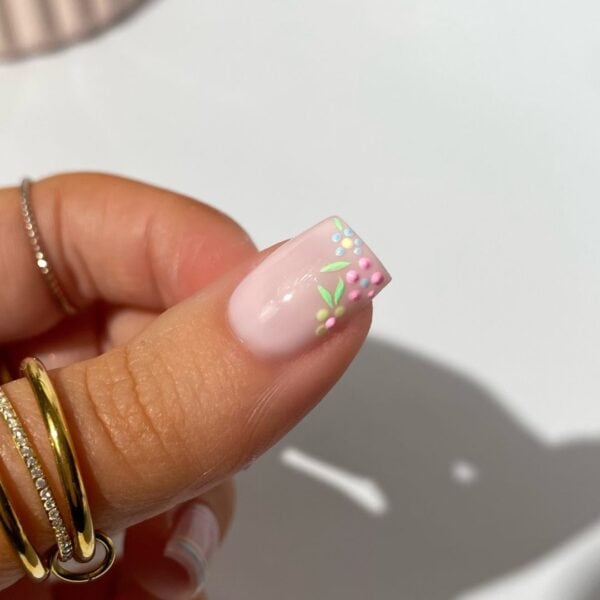
Use the Dotting 01 Tool and pastel Gel Polishes to create simple floral shapes at the tip of the middle fingernail. Cure after each application.
Step 6
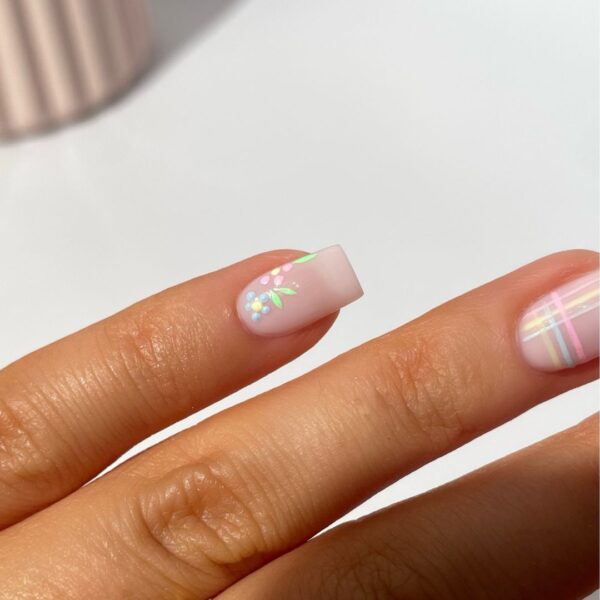
Paint the same floral design demonstrated in step 5 on the pinkie and thumbnail. Add leaf details with the Liner 02 Brush and Gel Polish in Central Perk. Cure.
Step 7
Seal the look with Extreme Shine Top Coat and cure.