Easter nail tutorial: rabbit nail art in 4 simple steps

Seasonal & Occasions, Step by Step
Nail artist & content creator, Carla Brannan of @gelled_pretty, shares a step-by-step guide to perfecting an adorable rabbit design.
Are you enjoying this content?
Join our community to receive more like this
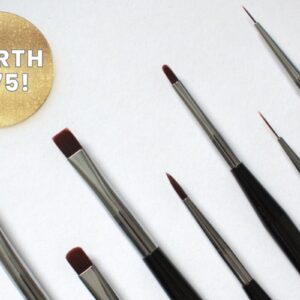
She uses Gems Nail Systems products, available via www.gemsnailsystems.com
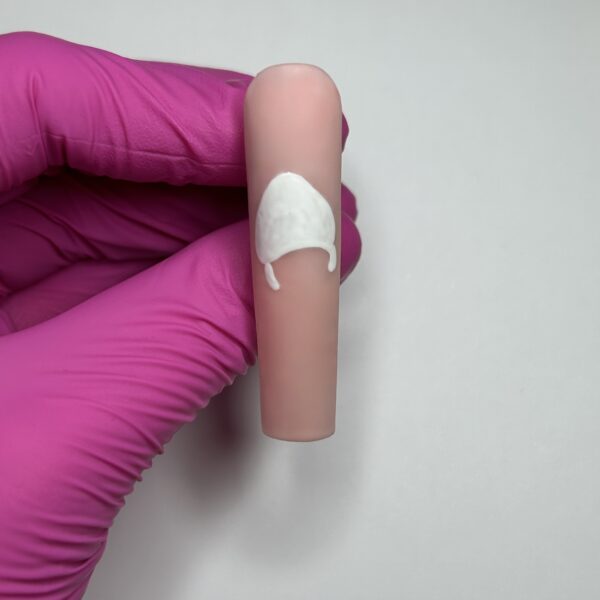
Step 1
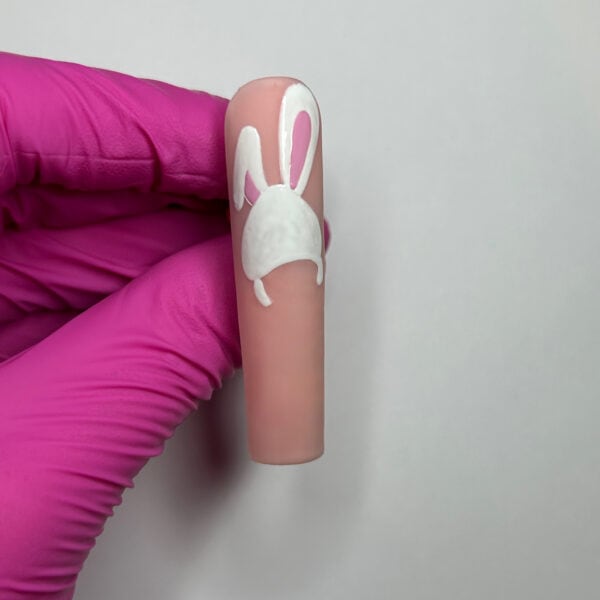
Apply two coats of Gems Full Control Gel in Jodie to the nail, curing between each coat. Apply a matte top coat and cure, then paint a curved triangle for the rabbit’s head and arms using Gems Gel Polish in Angel. Cure.
Step 2
Using the Angel shade, paint one long, straight ear and one flopped over. Cure, then paint the inside of the rabbit’s straight ear with Gems Gel Polish in Ellie-Jade. Cure.
Step 3

Paint a curve from underneath the rabbit’s face using Gems Gel Polish in Flora. Cure, then continue the process down the nail using shades: Ellie-Jade, Erin, Lily and Lulu. Cure after applying each colour.
Step 4
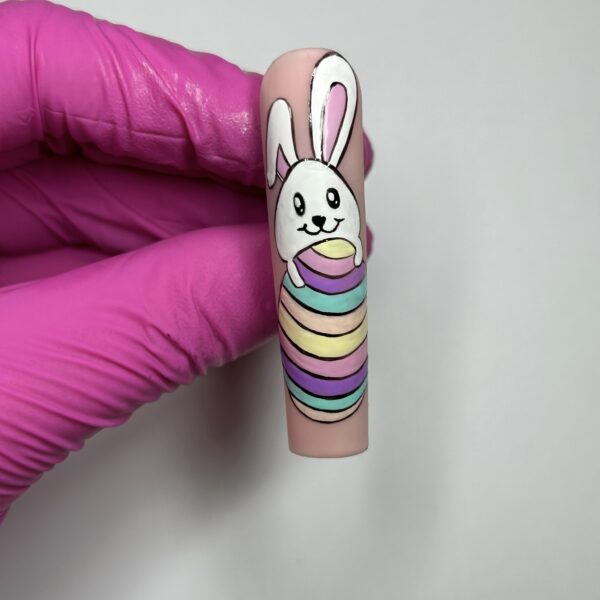
Using a black art gel, paint two eyes, a nose and a mouth, curing after each application. Outline the design in the same hue and cure. Apply Martha Matte Top Coat and cure to finish.