How to: love letter nail art for Valentine’s Day

Seasonal & Occasions, Step by Step
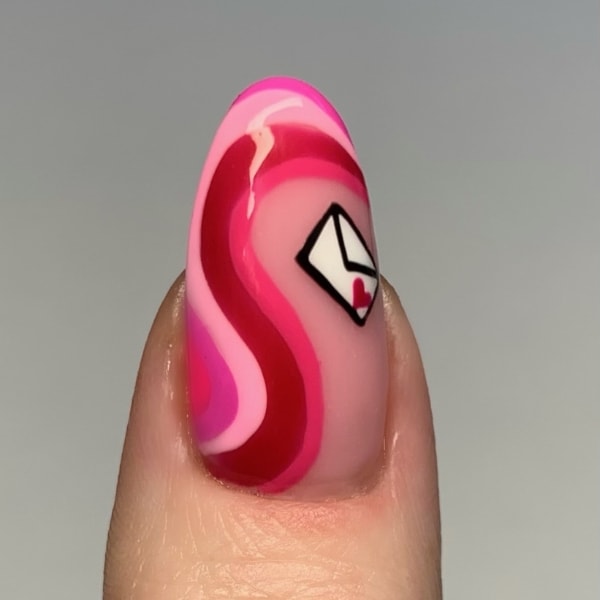
Owner of Golden Triangle Nails, Natalie Farrow, spreads the love with this Valentine’s Day love letter nail design.
Are you enjoying this content?
Join our community to receive more like this
Design originally created using GELLUX products.
Step 1
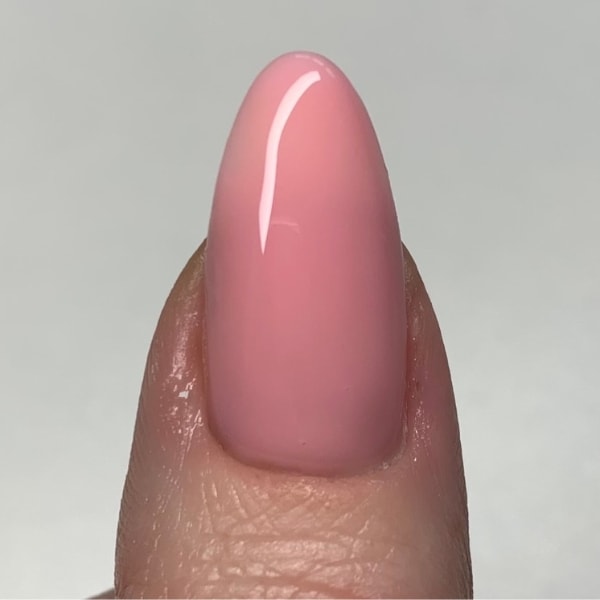
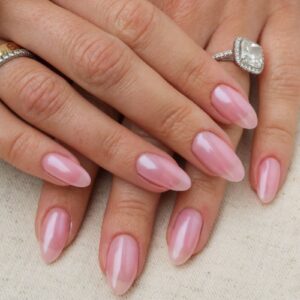
Prep the nails. File to shape, push back the cuticle and buff the nail plate. Prep nails for gel application and apply two coats of a pink builder gel for the base, curing between each layer.
Step 2
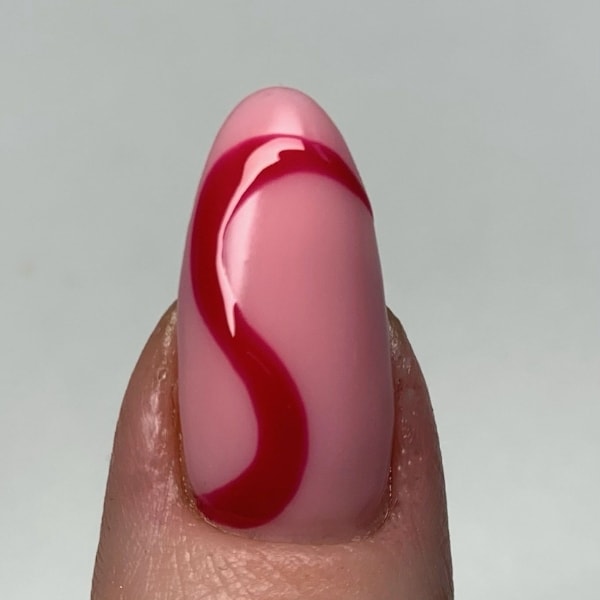
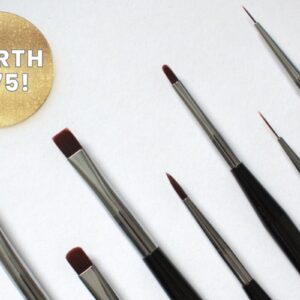
Using a liner art brush, apply a cherry gel polish, creating a swirl design. Cure.
Step 3
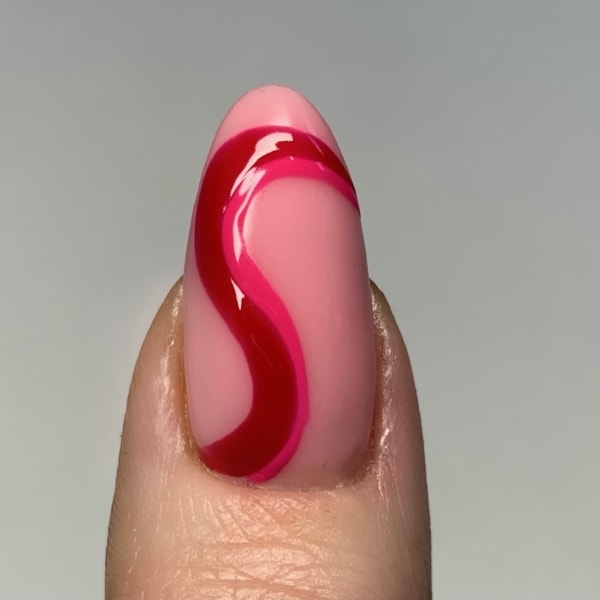
For the second swirl, take a thinner liner art brush and apply a hot pink gel polish shade, making the swirls different thicknesses.
Step 4
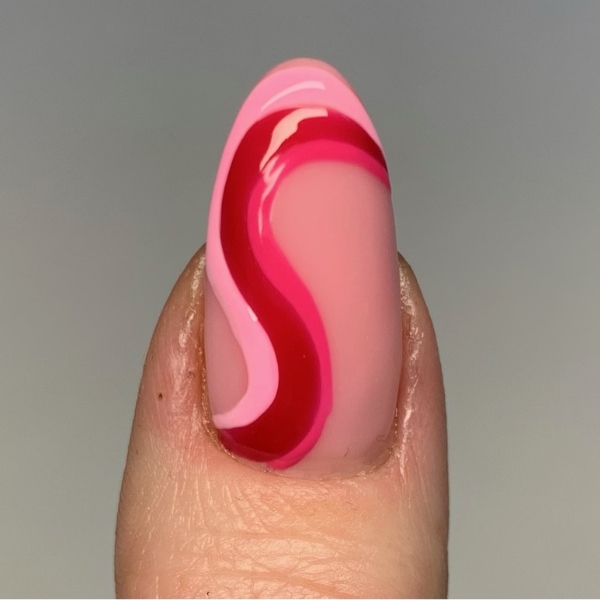
For the third swirl, following the same shape, use a lighter pink gel polish. Cure.
Step 5
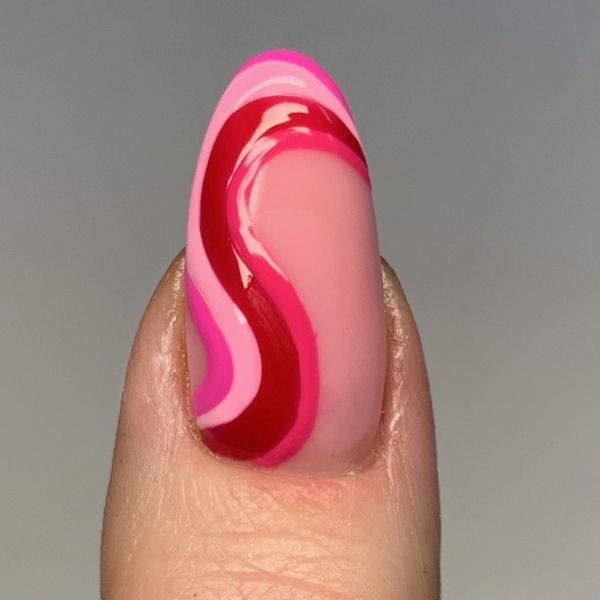
For the fourth swirl, apply another pink gel polish colour of your choosing. Cure.
Step 6
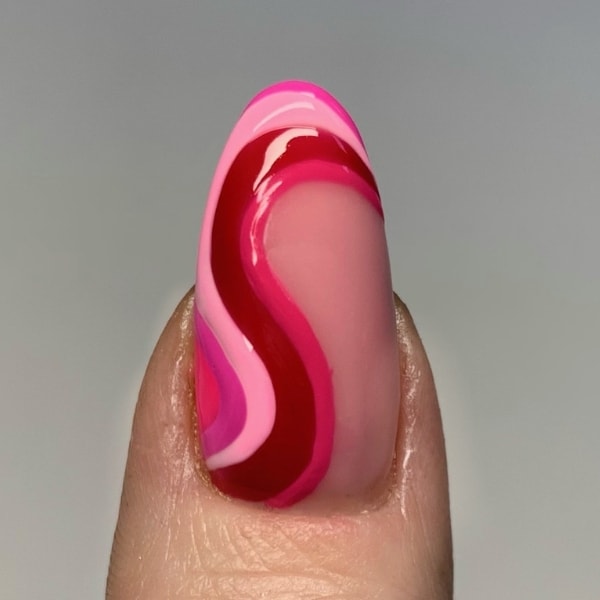
Use a final pink gel polish colour to fill in the gap next to the swirls, and cure.
Step 7
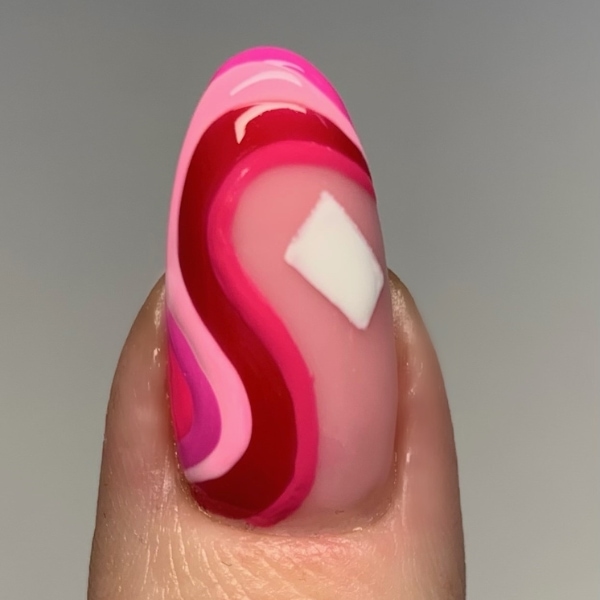
Apply a white gel polish in a rectangular shape, to form the envelope. Cure.
Step 8
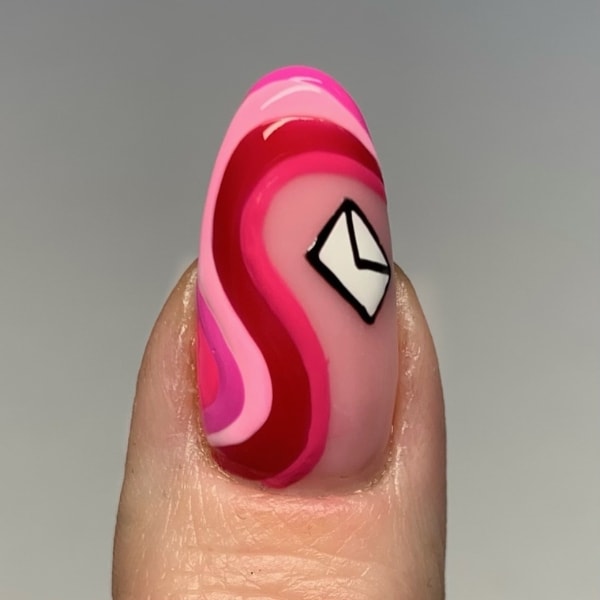
Use a black gel polish to outline the envelope. Cure.
Step 9
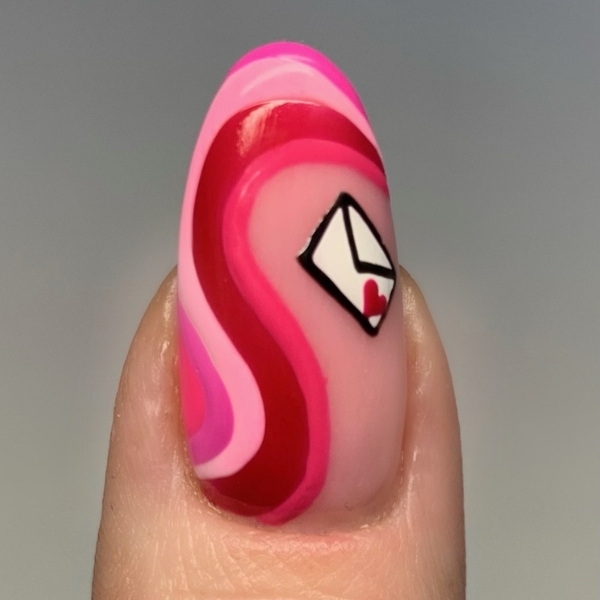
Using a dotting tool and one of the pink gel polish hues previously used, apply two dots close together near the edge of the envelope. Then, use a thin art liner brush to drag the dots down, creating a tiny heart. Cure.
Step 10
For a glossy finish, apply a high-shine, no-wipe top coat and cure, before applying cuticle oil to finish.