One stroke floral spring nails

Floral, Step by Step
Get to grips with the one stroke technique with this design by Anastasiia Morozova…
Are you enjoying this content?
Join our community to receive more like this
“With spring on the way, a lot of my clients are beginning to request floral nail art designs. The one stroke technique is one of the fastest ways to create beautiful flowers and other artistic details. I hope this tutorial shows you how easy and quick this design can be,” she comments.
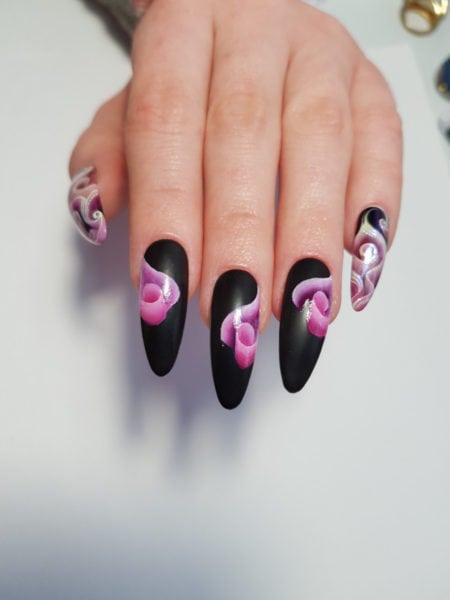
Step 1

Prepare the nail for gel polish application. Apply a black gel polish. I used LeChat Perfect Match Gel Polish Black Velvet. Cure and remove the sticky inhibition layer.
Step 2

Next, I used the LeChat nail art brush for one stroke. Take two shades of gel polish; white and a dark red works well for this design. I used LeChat gel polish in Flawless White and Royal Red.
I apply my gel polish colours to a palette in advance to allows them to ‘dry’ a little bit. I put my palette inside the drawer of my nail desk, away from light sources, for an hour.
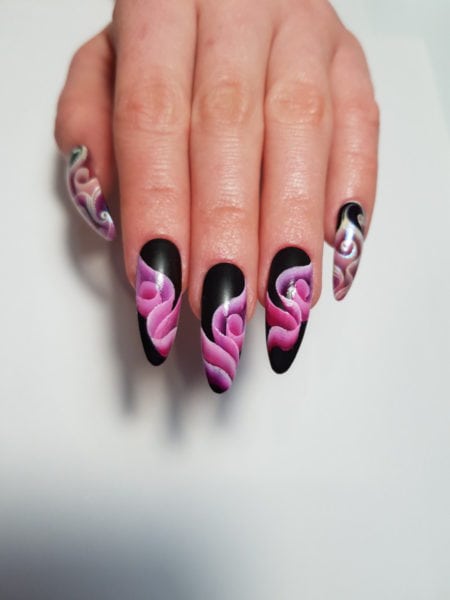
Step 3
Start to paint two lines with your brush in almost a V shape. Cure.
Step 4
Just inside the line, pain a half circle.
Step 5
Close the circle by painting the other half. Remember to cure between each stage to ensure the colours don’t bleed into each other.
Step 6
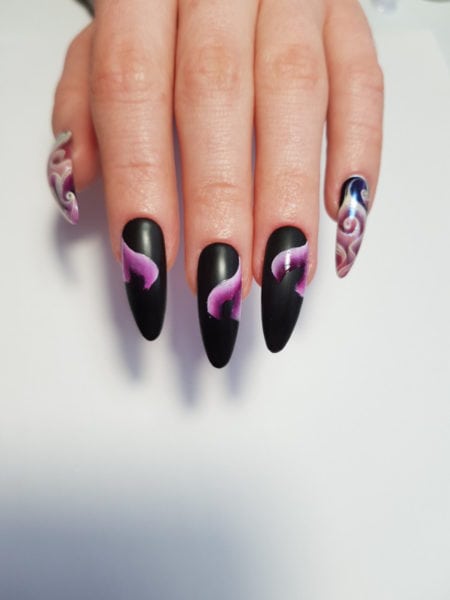
Continue to add more lines to your designs how you feel best, depending on the nail length and size. I’d also suggest moving your brush how feels best for you; this will help find your signature style.
Step 7
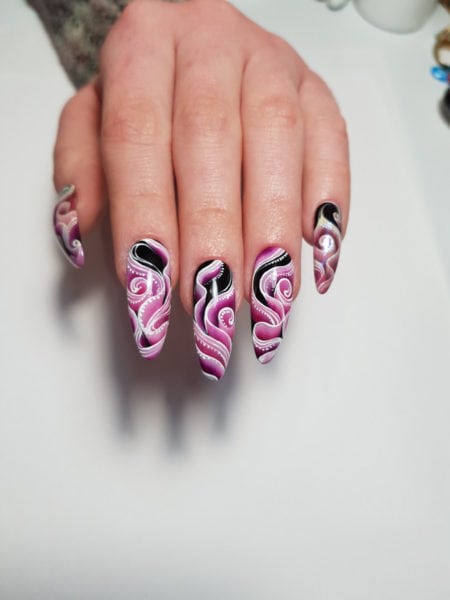
Add detail to your design by outlining the lines with white gel paint. Cure.
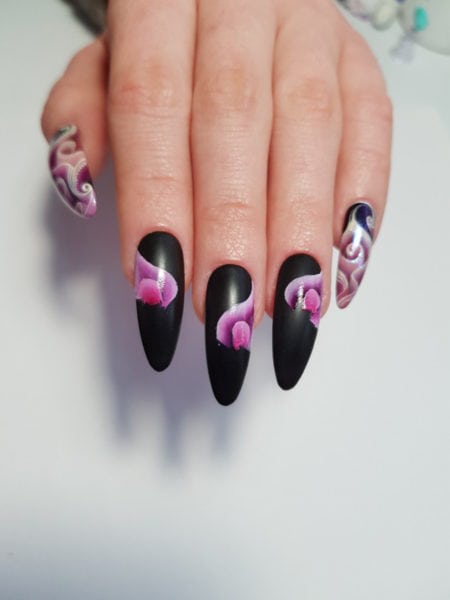
Step 8
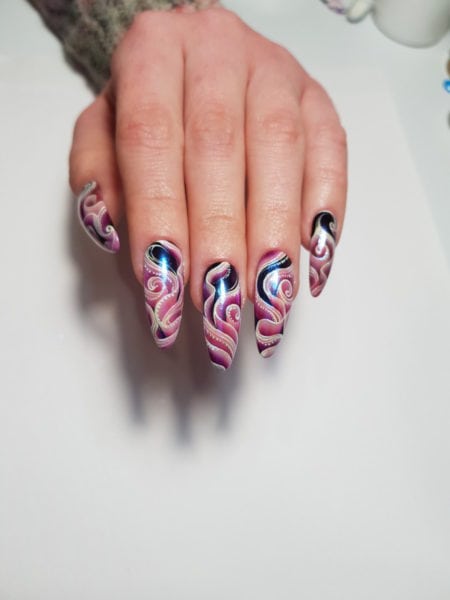
Apply a no-wipe top coat. For a little extra intrigue, apply a chrome powder over the top coat, before sealing with another coat.