Crack Easter nail art with this intricate Easter egg tutorial
– HD Pro Nails Easter SBS")
Seasonal & Occasions, Step by Step
Northampton-based nail technician & HD Professional Nail Systems ambassador, Ruth Green, shares how to create a stunning Easter nail design, featuring an egg topped with a bow…
You will need the following HD Pro Nails products, available via www.hazeldixonnails.com:
Are you enjoying this content?
Join our community to receive more like this
- Colour It! Gel Polishes in Arctic Almond & Tickled Tulip.
- Pearl Pink Topcoat.
- Matt It! No Wipe Matt Top Coat.
- Art Gels in Casper; Lavender; Tiffany & Seafoam.
- Design It! Metallic Gel in Gold.
Step 1
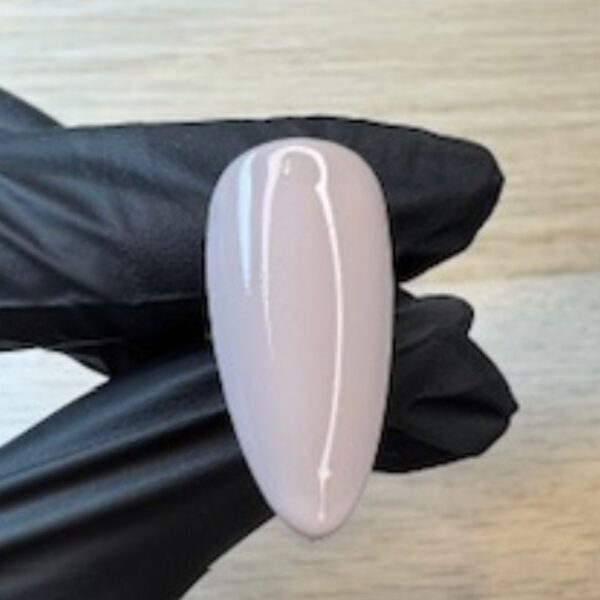
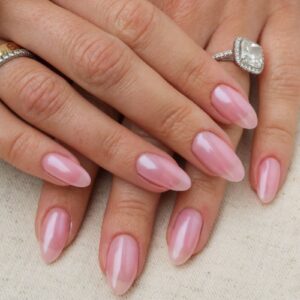
Prep the nail and apply two coats of Colour It! Gel Polish in Arctic Almond, curing after each application.
Step 2
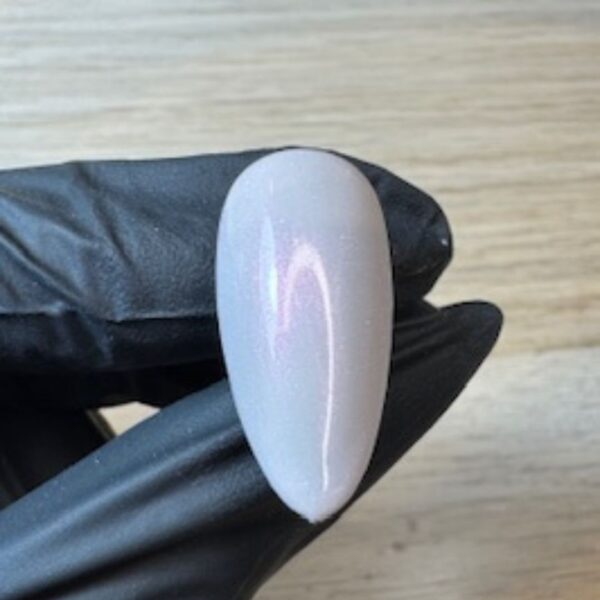
Apply one coat of Pearl Pink Top Coat and cure for 30 seconds.
Step 3
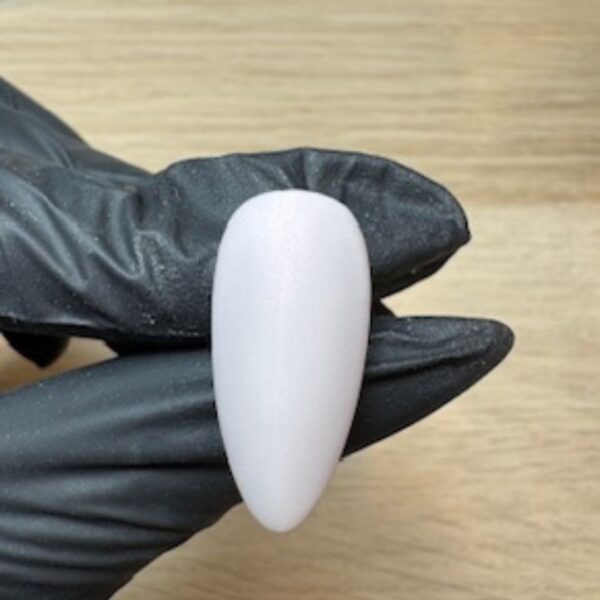
Apply a layer of Matt It! No Wipe Matt Top Coat, then cure.
Step 4
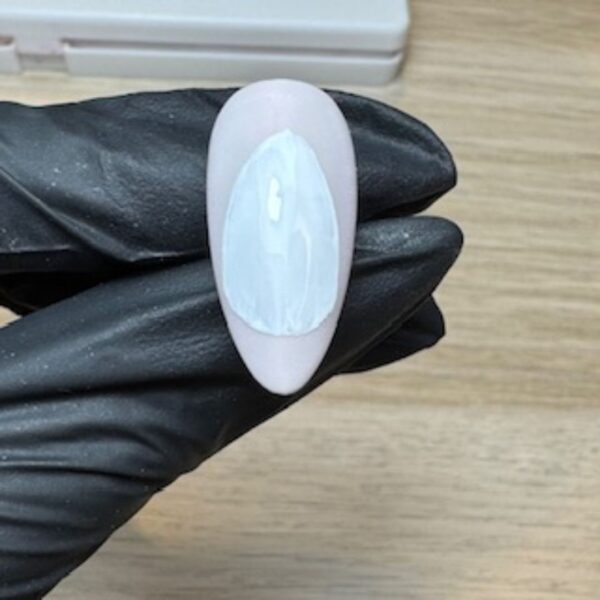
Use Art Gel in Casper to paint an egg shape onto the nail. Flash cure.
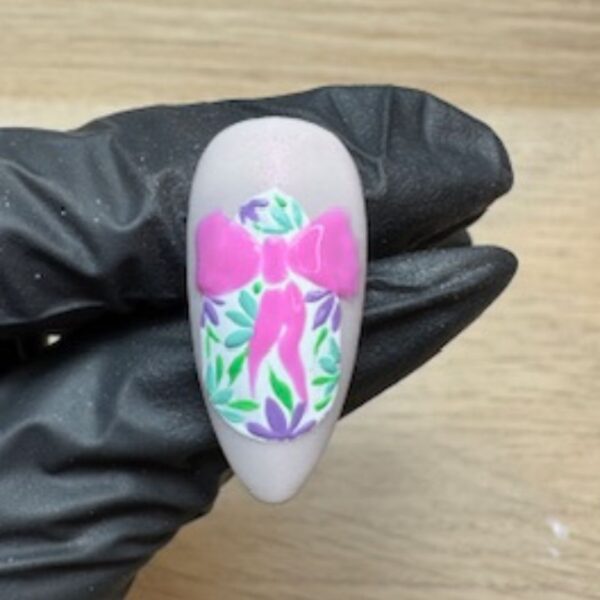
Step 5
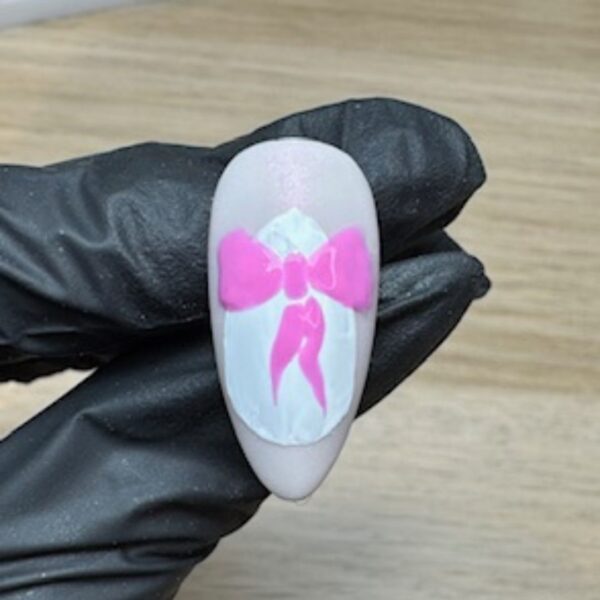
Paint a bow across the top of the egg shape using Gel Polish in Tickled Tulip. Flash cure.
Step 6
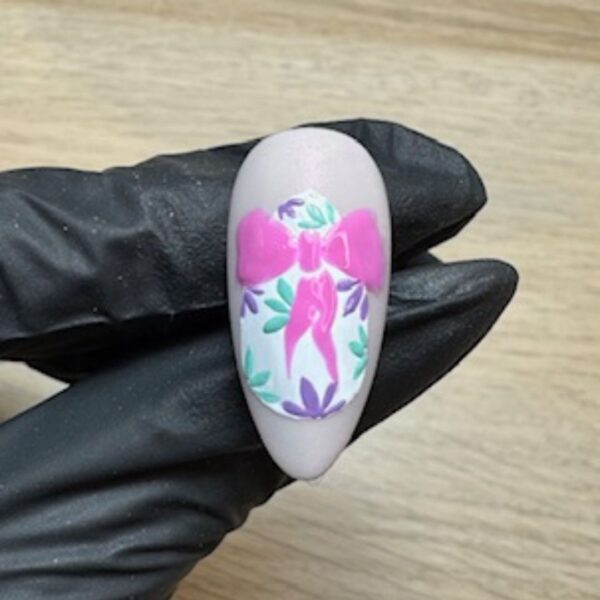
Using Art Gels in Lavender and Tiffany, paint groups of petals onto the white egg shape. Flash cure - either after each colour application or once all details are added.
Step 7
Add leaves to the petal groups using Art Gel in Seafoam, and flash cure.
Step 8
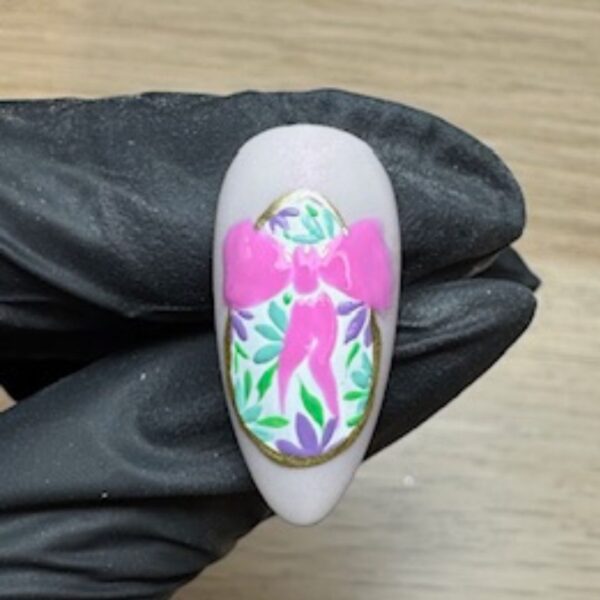
Outline the egg shape using a fine liner brush and Design It! Metallic Gel in Gold. Flash cure.
Step 9
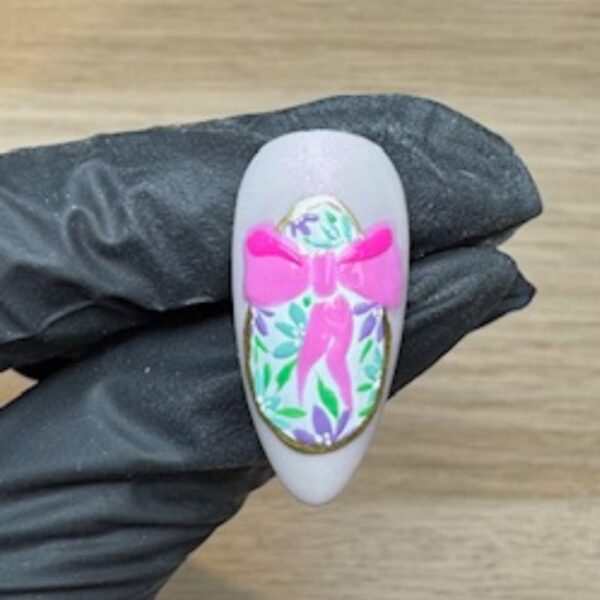
Using Art Gel in Casper, add small dots to the centre of the petal groups. Use a dark pink gel polish to add depth to the top of the bow. Flash cure.
Step 10
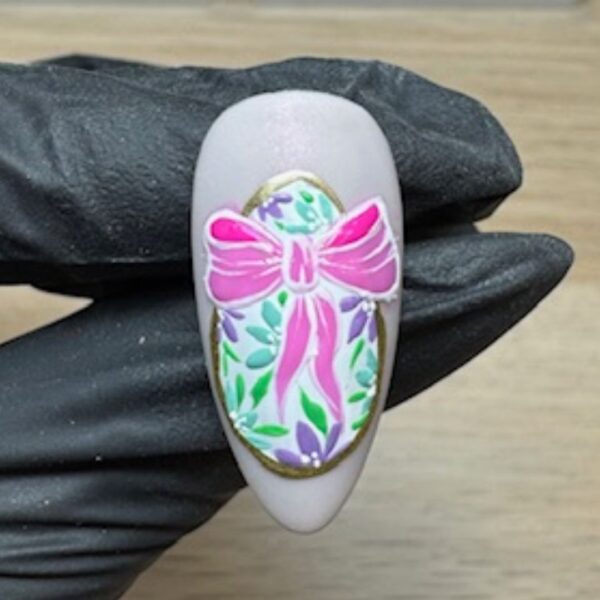
Using the Casper Art Gel, paint creases and folds in the bow. Cure for 30 seconds.
Step 11
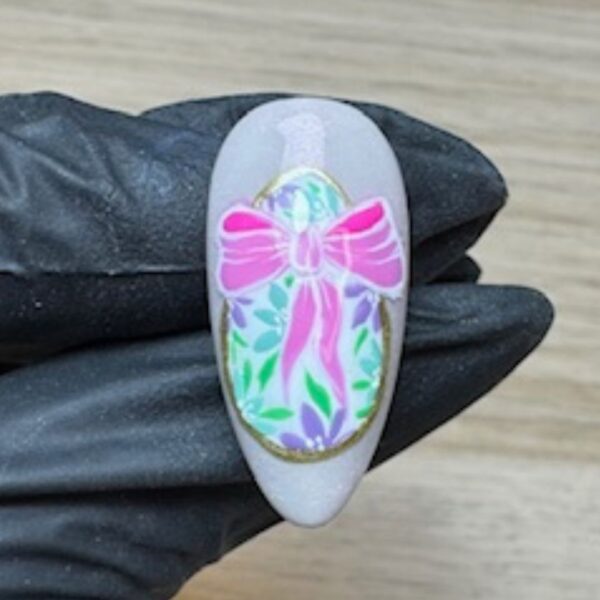
Once you are happy with the design, apply glossy gel polish top coat and cure fully.