Embrace spring with this multicoloured mani nail art tutorial

Step by Step
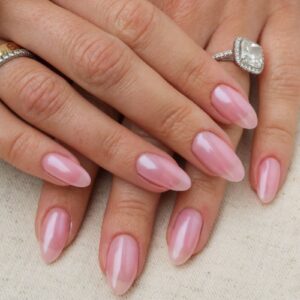
Award-winning nail artist, Karyna Kyliushyk, crafts a perfect popsicle-toned pigment nail look…
Karyna, a Ukrainian nail artist who placed 1st at Nailympia San Antonio 2025 for Division 2 in the Joy of Nails category, shares the steps she followed to create a kaleidoscope of colour.
You will need:
Are you enjoying this content?
Join our community to receive more like this
- Gel polish base coat.
- Nude gel polish.
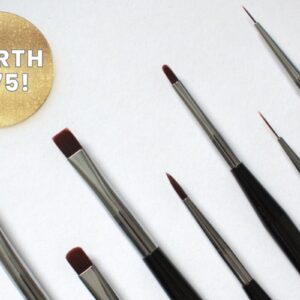
- Soft, fluffy nail or eyeshadow brush.
- Colour pigments (whatever shades you prefer).
- Matte gel top coat.
- Clear 3D nail gel.
- Glossy gel polish top coat.
Step 1
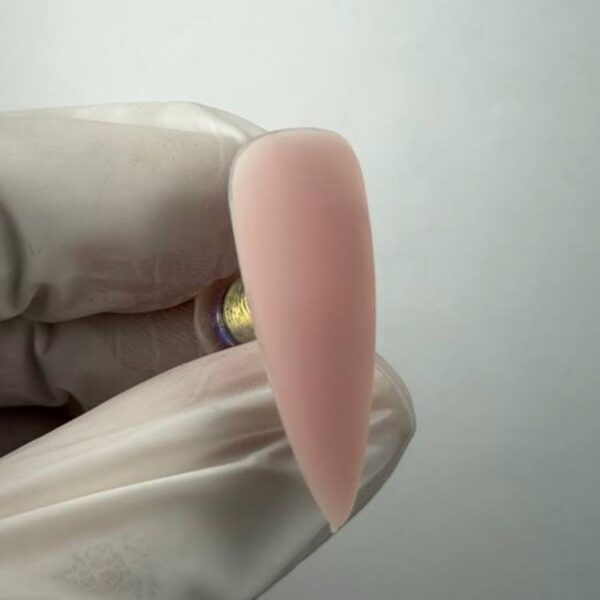
Apply gel base coat and cure, followed by a thin layer of nude gel polish. Cure. Seal the surface with a matte top coat - this is essential for smooth and even pigment application. Cure again.
Step 2
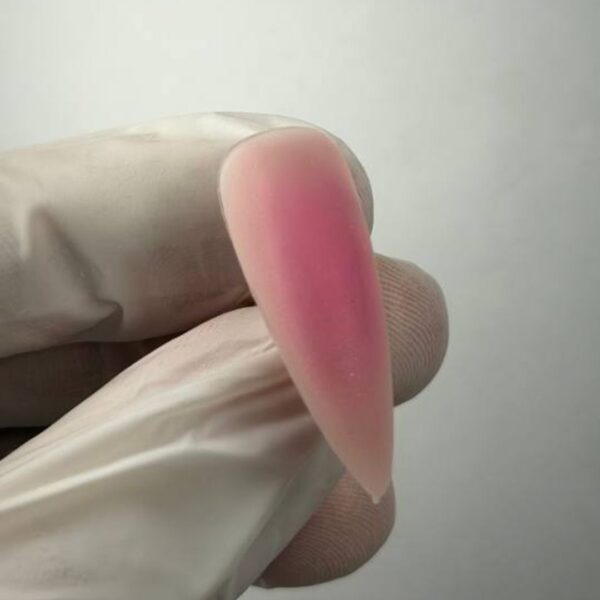
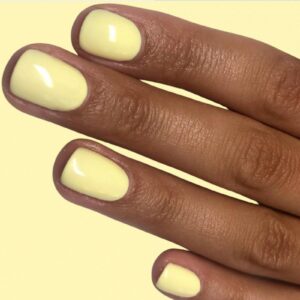
Add pigments using a soft brush, dabbing them onto the surface of the nail.
Step 3

Blend the colours in any order you like, creating smooth transitions and gradients. Layer pigments until the desired intensity is achieved.
Step 4
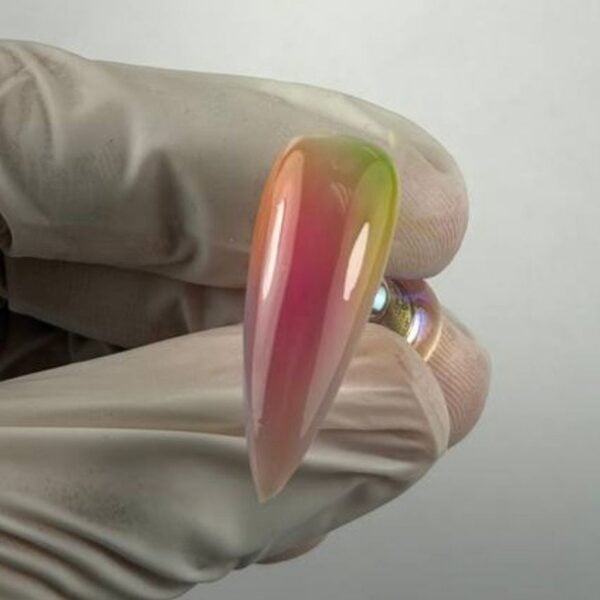
Carefully apply a thin layer of glossy top coat to fix the pigments - ensure you aren't applying too much pressure so the pigments don't blur. Cure fully.
Step 5
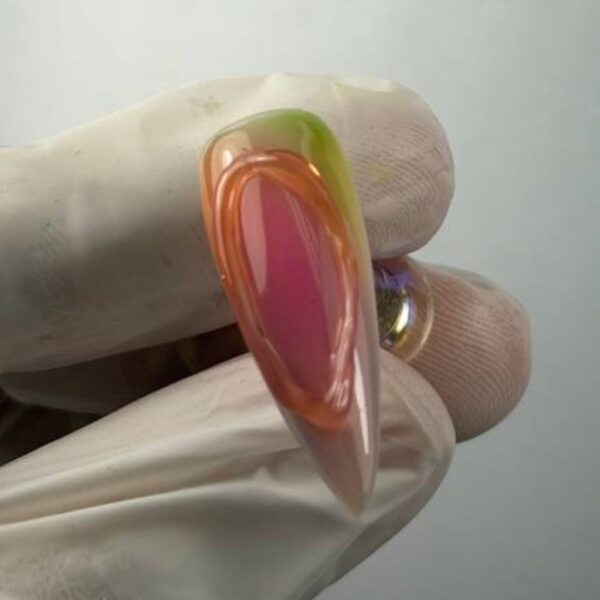
Craft an oval frame using clear 3D gel, apply to nail and cure according to product instructions. (Optional: apply top coat for extra adhesion and cure again.)