Spring floral nail art design – simple step-by-step tutorial

Floral, Spring/Summer, Step by Step
Session nail stylist, salon owner & educator, Marie-Louise Coster, shares a step-by-step for this spring-ready floral nail style. She used gel polish to create the look.
Are you enjoying this content?
Join our community to receive more like this
Step 1
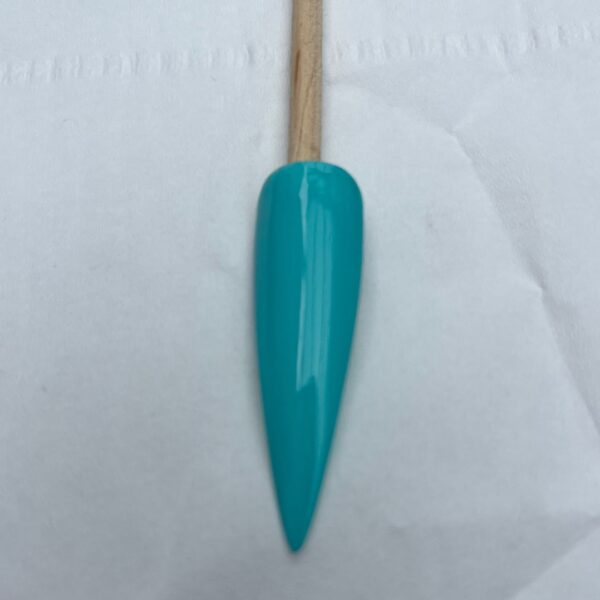
Apply two coats of your chosen base gel polish colour, curing after each layer. You can then choose to seal this with a matte top coat and cure - if you're worried your nail art may go wrong, as this will allow you to wipe it off without disturbing the colour. A matte formula ensures the art adheres well.
Step 2
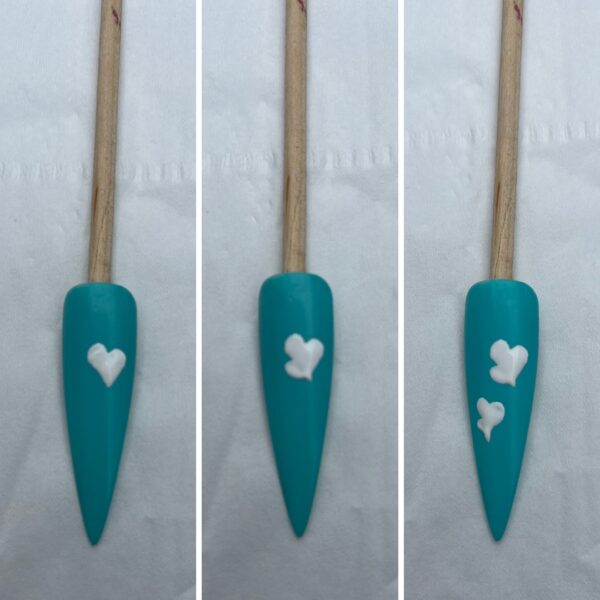
Using a dotting tool or fine brush and a white gel polish, paint a slightly out of proportion heart towards the top right of the nail. Add half of a smaller heart shape on the left of this to create petals. Repeat this entire shape slightly lower down the nail and to the left. If you are concerned about disturbing your first shape, cure it before painting the second. Ensure the white gel polish is fully cured before moving on.
Step 3
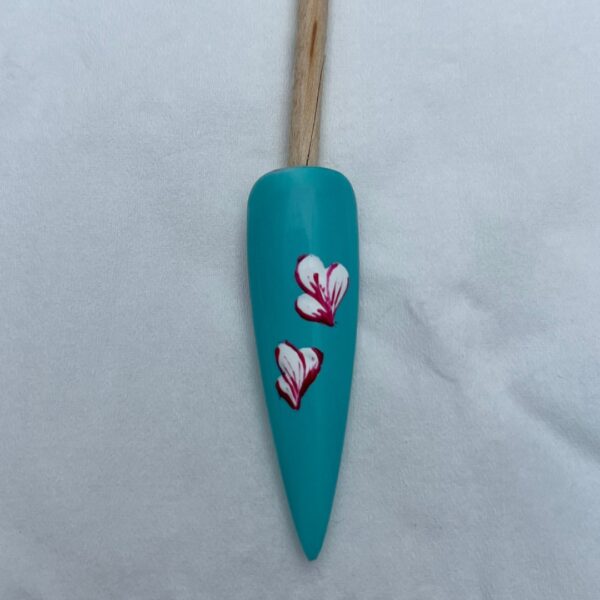
Add an outline to the white petal shapes and some texture using a contrasting gel polish colour. Do this with a very fine detailer brush, then cure.
Step 4
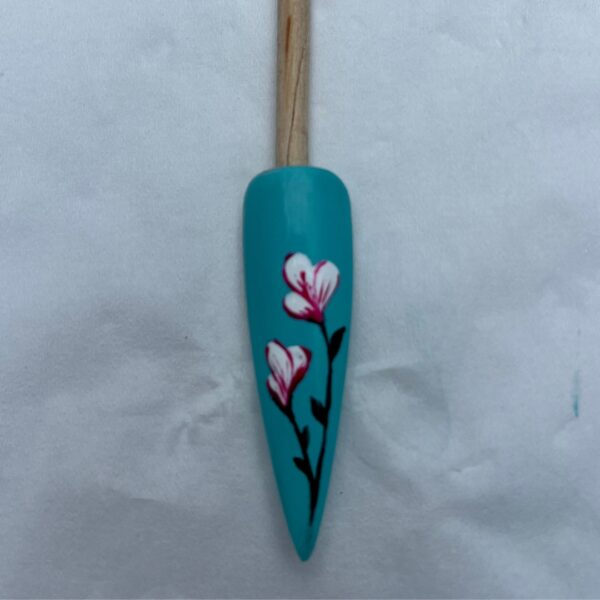
Using a dark gel polish colour and fine detailer brush, paint a V to cup the base of each flower. From each base, paint a line that is slightly bent to create the stems. The two lines/stems should meet at the bottom. Then paint some leaves periodically down the stems. Cure.
Step 5
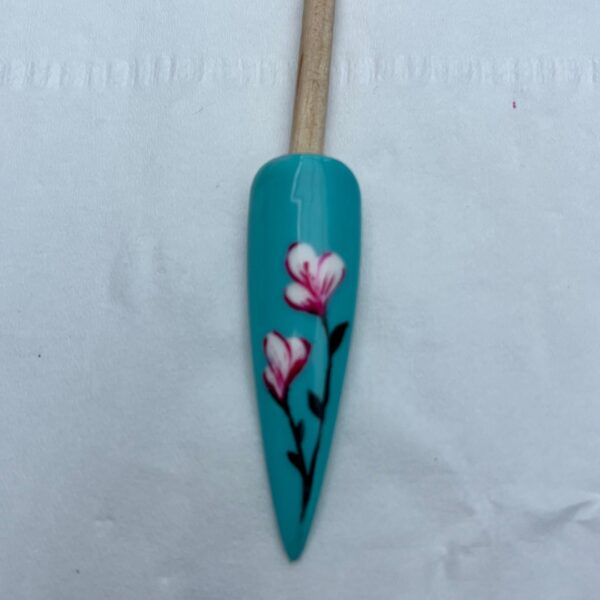
Seal the entire design with your chosen top coat and cure.